Roof overhead
 Last night on the way home I made another stop at Home Depot, a near daily ritual recently. I needed to grab a 2 x 10 to fill in the gap between the shed and the run on the far side. The skies looked rather threatening in the backyard but that did not deter me from getting more work done on the chicken run. The focus of the evening was the roof. As soon as Cindy got home she jumped in to help.
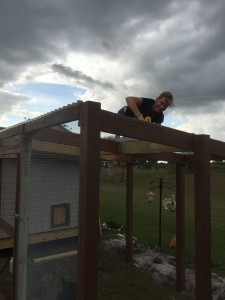
 Attaching the roof panels was a multistage process. First the roof panel support pieces were connected together and attached to the support beams. The middle section was unreachable from a ladder so Cindy was enlisted to climb up top due to her significantly lower body weight. The structure didn’t budge a millimeter with her on top so I am pretty sure I could have climbed around up there too if need be.
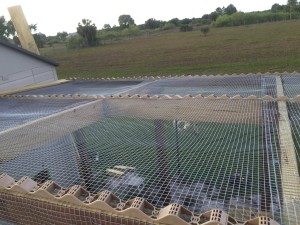
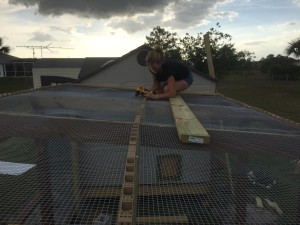
After getting the supports in place we started laying out the panels and securing them. For maximum strength we sunk a two inch panel screw through every channel, meaning each one would be secured with over 20 fasteners. At first we were drilling the pilot hole and then cranking down the screw with a socket inserted into a screwdriver. This quickly proved to be a forearm destroyer so I grabbed my old Black and Decker cordless drill to insert the socket into. Things moved along much quicker afterward. Cindy was having fun being an amateur roofer, she was drilling holes and driving screws like a pro in no time.

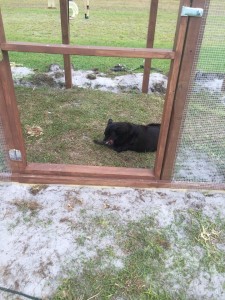
 We had the dogs and the chickens hanging out in the yard while we worked. Even though we were working it felt peaceful and serene. I got some good pictures of Cindy working on the roof as the sun was setting. We only got two of the seven panels installed before we ran out of daylight but I am confident that by tonight we will have the entire run under roof since we have the kinks worked out.