Never did this in 50 years
 So during my five decades on the planet I have tackled a large number of household tasks and repairs. However somehow I managed to escape ever having to replace the faucet on a tub, until last night. The spout fixture on our tub was beginning to rust on the trim ring and looked pretty shitty. Cindy had bought a replacement fixture on clearance several weeks ago but it has sat around untouched. For reasons unknown to me, I decided that last night after dinner was the time to install it.
I really had no idea what was involved with replacing a tub faucet until I watched a quick video which revealed that it is pretty straightforward. Faucets are either attached via a slip fit with a retaining screw or threaded on. When I looked at our old rusted fixture it appeared to be a slip fit configuration.
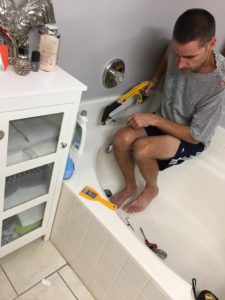
The position of the faucet made accessing the screw underneath tight. I had to awkwardly lean over the edge of the tub while on my knees (always a bad position), while trying to get my head under the faucet to see what I was doing. Eventually after some futzing I got the screw loose and was able to slide the old faucet off with some twisting and yanking.
So as I read the directions for the new fixture it indicated for a slip fit the pipe stub coming out of the wall needs to be between 2″ and 3″ long. I took the measuring tape and confirmed our stub was 3.5″ long. My initial reaction was “guess it won’t fit” but of course there was another option, cut the pipe. I wasn’t in love with the idea at first.
I had visions of me trying to cut it with the Sawzall which would be insane, trying to keep the pipe from vibrating while working in such a confined space. However when I went out into the garage I saw the brand new DeWalt hacksaw that I bought when I installed some shelving for Cindy’s mom. I determined that was a much better way to cut the pipe. It took awhile but the saw made slow and steady progress through the copper pipe. I lopped about 3/4 of an inch off.
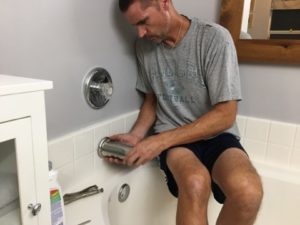
 So as I worked on getting the new faucet ready I tasked Cindy with sanding down the end of the pipe stub to remove burs and expose fresh copper as the instructions directed. So I found myself getting confused as I followed the directions. According to what I was seeing/reading there were couplers and washers that I was supposed to be assembling but I didn’t see them in the parts packaging. Everything seemed to already be installed and inside the new faucet. I questioned Cindy if the the package looked like it was opened before because it didn’t make sense. She said it was not. So after a couple rounds of head scratching I took apart the pieces that were inside the faucet and assembled them as the directions said, just to be thorough.
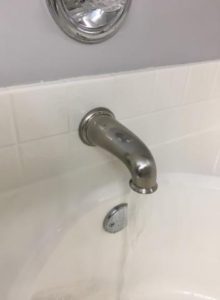
 There were some more minor confusion at the final steps but we got it all sorted out. The end result of maybe 60 minutes of work was a functional, unblemished, and modern looking replacement faucet. Who knows we may go nuts and try to replace the tub valve next.